Like all things in this life, practice makes perfect. It is the same for photography – the more photos you take, the better you become as a photographer.
Sometimes I find some old photographs that I took as an enthusiastic amateur, and I am sorry to say that there are very few that I am proud of. The concepts I explored were good. The delivery of those concepts was not.
I have written before about how a friend delivered a very expensive camera outfit to me on his return from an overseas trip. I had asked him to enquire how much the Hasselblad cameras were in the duty free stores, but he decided that I had empowered him to buy one on my behalf. In the long run that was a good decision, but in the short term it was a huge financial drain, just when I didn’t need it. It was at that moment I decided that the Hasselblad was going to have to pay for itself. And if it were to bring in money, it meant I was going to have to become good enough to charge for my photographs.
The next step in my photographic career was to go to all the bookstores and purchase books on photography. Initially I was selecting ‘how to’ books, especially those which gave examples of photo projects. These I devoured until I could reproduce the results that professional photographers like Michael Freeman explained in his instruction books.
After that I began to give myself my own project subjects, imagining, for example, that I had been hired to do the photography for a catalogue of artificial flowers. I had a friend who did import these, so it was not too difficult to borrow some for my own photo shoot.
In this way I learned to shoot to a layout and was able to size the photo illustrations to fit. I also, from the books, learned how to set up a small studio at home in the spare bedroom. Rolls of background papers were found and the catalogue items photographed against them. I had no expensive flash heads, but used internal reflector tungsten lights. I very quickly learned how this changes the overall color of the shot, and how by using blue gels I could correct for the overly warm tones of the tungsten lighting. I also learned to be critical of my own pictures.
By this stage, I began to give myself projects to be photographed outside. These were mainly “advertising” style of shots with models in some physical setting, looking like a fashion style of layout. Fortunately there were enough amateur would-be models wanting to parade in front of the would-be photographer’s lens in return for a few prints. We all learned together!
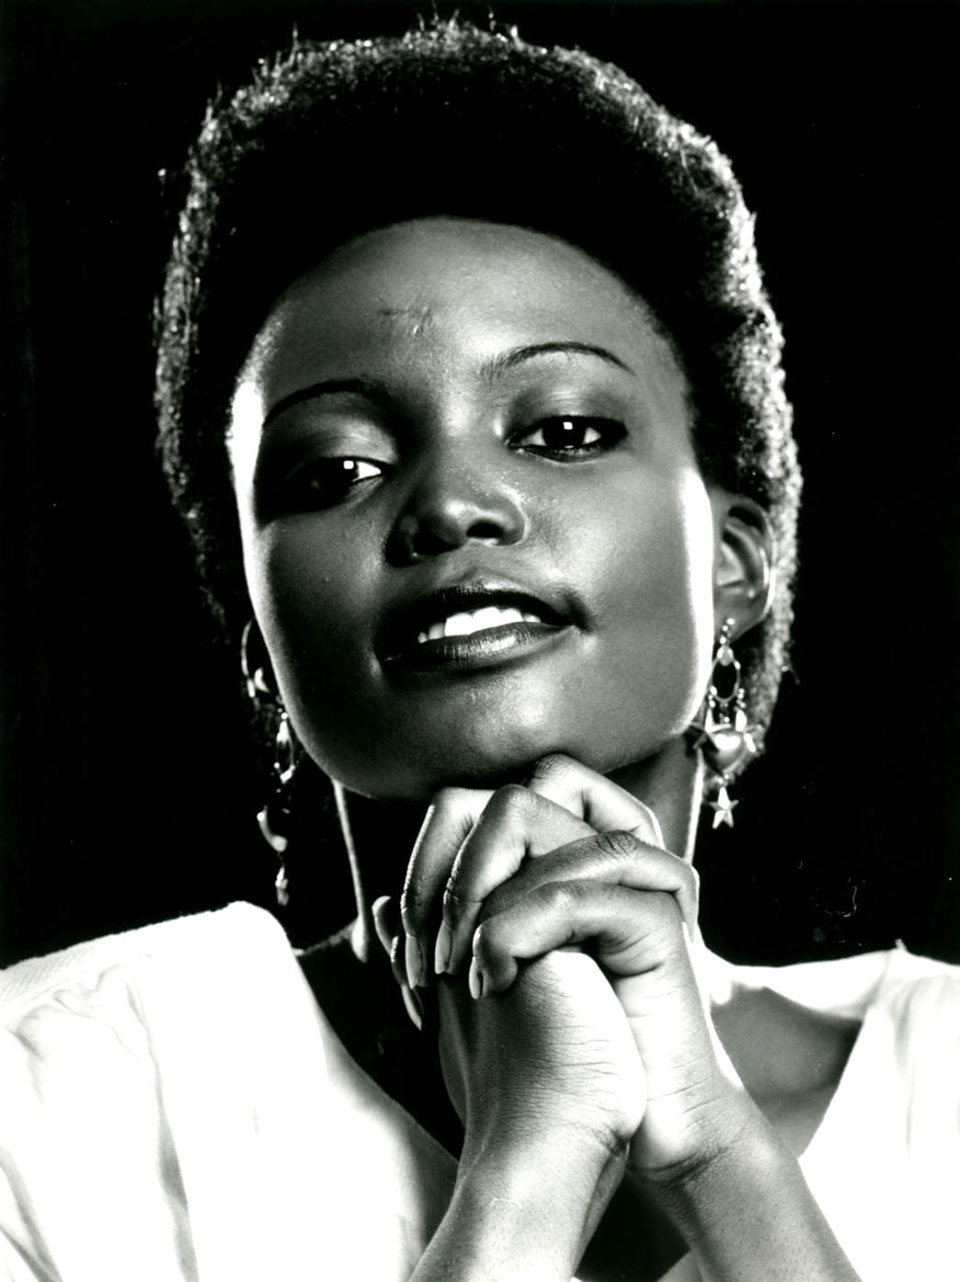
I also began to learn to use shadow, instead of bathing the models in floodlight (or the sun). All of a sudden, my shots began to have an air of mystery and were starting to look professional, as well as now having a 3D look to them. Shadow is the photographer’s friend!
Eventually I was ready to present my work as a professional, and to do this you place your best shots together, which is called your ‘book.’ This is not a real book, but should show your work in the best possible way. The local photographic equipment store showed me some ‘books’ belonging to semi-pro shooters and I made the decision to present only transparencies (slides), but a minimum of 6×6 cm (the Hasselblad size, otherwise known as two and quarter inch square), with the rest 5×4 inch. This made it look as if I had a 5×4 camera, which I didn’t, but the Hasselblad transparencies were sharp enough to be duplicated and enlarged (known as ‘dupes’ in the trade).
I bought a portable light box, mounted all the transparencies on heavy dark card so that they could be thrown on the light box for viewing, and I was ready to meet the art directors – the people from the ad agencies who dole out the work to the photographers. Eventually one gave me an assignment, and I went on from there. Get one and the rest are easy.
 |
 |
 |


