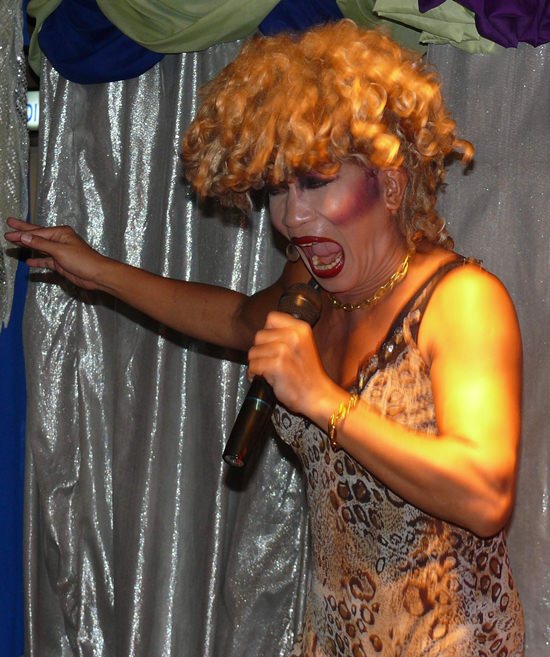
Stage photography is an exciting and different application of the art of photography. The results can be spectacular and make for wall art. But this type of end result does not come easily, and much forward planning is necessary.
With live theatre and stage performances you have some very difficult composition and lighting problems to contend with if nothing else. You cannot quite ask someone in the middle of the Swan Lake ballet to move a couple of steps to the left and say “Cheese”.
The lighting, too, is quite different from that you normally experience. Stage lighting is generally tungsten based and sharp (what we call “spectral” lighting). Spots for the performers and floods for the background are the hallmarks of the usual stage lighting. The use of spots in particular is used to highlight the principal performer or action on stage, and the lighting technician will follow the performer’s movements, as he knows where the principal dancer is going to move towards. Unfortunately, you don’t!
Successful “stage” photographs are ones that have managed to retain that “stagey” lighting feel to them, so that instantly you look at the image you know it is of a performer on a stage somewhere. Remember that as a photographer you are recording events, people and places as they happen. You are a mirror of the world!
The secret of retaining that stage feel is definitely in the lighting. Because it tends to be dark, we all break out the super-pro flash gear, or activate the in-built flash that comes with the camera. Unfortunately, the pro-flash gear can overpower the stage lights and you lose the effect. All you get is someone dressed in strange garb, flash-lit at night. Not Othello at all! On the other hand, the simple inbuilt flash just won’t carry the distance from seat 15E to the stage.
Here’s what to do. Reset the camera’s ISO to 800 ASA if you can, but 400 ASA will do at a pinch. This is to allow for handholding the camera in the stage situation.
The next tip – leave the flash in the bag, or turn it off at the camera. Now I know it is dark, but you are trying to retain the stage lighting effects. In other words, you are going to let the stage’s lighting technician be the source of light for your photograph too. With some point and shoot cameras this is actually quite difficult to do, but if in doubt, read the instruction manual (see last week’s column).
Tip number 3 – get as close to the action as you can. Now I know the pro photographers get to walk right up on stage, shoot the performer clean in the eye and shuffle off stage left. You will probably be thrown out on your ear if you try it (also stage left), so please don’t. However, get a seat as close to the action as you can, and then select a lens that can allow you to fill the frame with the performers. Shots that show an entire dark stage with two tiny little people spot lit in front are not good stage shots. In fact they are not good anything shots! If all you have is a fixed lens point and shooter, get as close to the front of the stage as you can. You can still get the scene stopping shot – you have just to get very close. OK?
Now then, as far as f stops and the like are concerned – if you are confident in these things, then monitor for the central subject. If you are unsure, just set the camera on “Auto” – with the 400 ASA pre-selected as there will be enough light to run the “auto” settings.
So there you are. Get close, use high ASA numbers and no flash. Have fun.
 |
 |
 |


