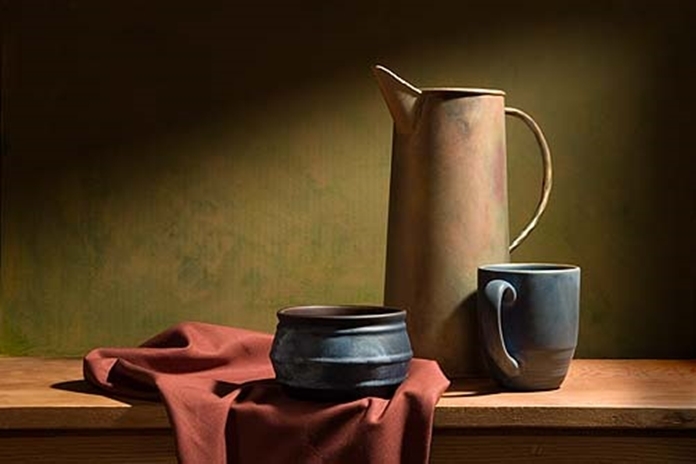
I randomly picked a book from my shelves this week. It was 35 years old, and every item was still applicable today. The main thrust was that still life is the only style of photography where the photographer has total control over the final image. A good still life is the result of application of many photographic principles and good composition. A poor still life is the fault of no one but the photographer.
The camera used for still life photography ranges all the way from 35 mm DSLR’s through to 5×4 view cameras. Lighting also ranges from electronic flash, tungsten and window lights. Since most of these are too bright, producing dark shadows, the still life photographer will also need diffusing equipment, with umbrella reflectors de rigeur for flash heads and homemade soft boxes quite easy to make and very suitable for tungsten light sources. Buy a 1 meter square sheet of white foam core as well.
There’s still more, with seamless background paper high on the list, and a good sturdy tripod is mandatory, and a locking type cable release will make life easier for you.
If you are starting off trying still life I would not begin with buying all the bits and pieces that go with still lives, but keep it simple till you get more used to the discipline. Let’s begin with window lights and a tripod and your DSLR, with the Manual mode selected. Also disable the on-camera flash. For a subject, let’s use a fruit bowl with some vegetables.
At this stage you must come up with the composition you might think suitable. This is also the stage where you select the “hero”. With a bowl of fruit and some garden vegetables, this can be difficult, but for the exercise let’s select the tomatoes. Recognizable and colorful and for a still life, the tomatoes must be perfect. No bruises or cuts or marks. Having done that, carefully polish them so they are looking very delectable.
Now start to arrange all the items in the photo with the bowl of fruit central and the tomatoes at the intersection of thirds and partly in front of the bowl. Look through the viewfinder to get the composition. What you see with the naked eye, is not necessarily what the camera sees, with differing apertures producing different views. It is a case of WYSIWYG (What You See Is What You Get), and that is what you see through the camera.
Having decided on the composition, you must now decide on the lighting. Again, your lighting should identify the “hero”. I generally work with two lights and a reflector. One is to light up the backdrop, which then splits the subject matter away from the background. Now bring one light in from the front, but off to one side. This produces shadow as well as illumination, and shadow in still lives is crucially important. Without shadow, your tomatoes are flat, with no 3D effect at all.
Now comes the third item, the reflector. White foam board works well and you reflect a little light back into the scene, to control the amount of shadow. Do not be afraid of shadow! You need it. When you use the reflector, look at the difference depending upon whether your reflector is close to the subject or further away. As I mentioned at the start of this article, the photographer has total control.
Now look through the viewfinder again and double check all the variables of composition and lighting. If something is not right, correct it. Don’t be lazy and think, it’ll be OK in the end. It won’t.
With today’s SLRs it is so easy for you to take the shot and get an instant review, but remember that looking at the small LED screen does not show the entire picture. But it does allow you to try different items in the quest for the award winner.
 |
 |
 |


