I have kept thousands of photographs I should have thrown away – however, they do have a value. They teach me what I did wrong, several times over!
Looking over many of the shots showed me that I took a lot of shots of almost exactly the same things. One wrong shot was repeated over and over again, as if I expected God to come and fix the photo for me. He didn’t.
So, if you are teaching your children to take photographs, get them to take several shots of the same subject, but vary the approach. Shoot in landscape format and portrait formats. Shoot from above, low down and central positions. If possible with your camera, use different lenses or at different extremes of a zoom lens.
Backgrounds can make or break a photograph. Teach your children to look at the background as well as at the subject. Backgrounds do not add to a shot, but they have the ability to ruin a shot. How many photographs have you made with trees growing out of people’s heads?
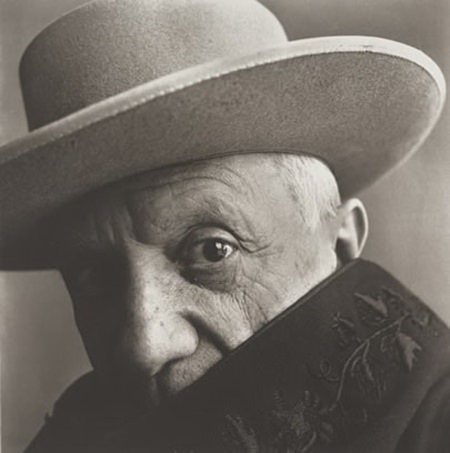
I have a mantra to be used with novice photographers, and that is “Fill the Frame!” When you sit down to review the tyro’s work, you can point out to them, and they can see the difference when the frame is filled. If nothing else, backgrounds cease to be as important!
Another problem which shows up with many new photographers is the horizon line being off at a drunken angle. Teach your children to look critically at the framing of the shot before squeezing the shutter button. And after, when reviewing the shot in the LCD, to take it again if the horizon is skewed.
Teach your children how to hold a camera with two hands and none of this one-handed approach while waving three fingers with the other and saying “Nung, song, sam”. Despite anti-shake technology, there is a limit!
For me, one of the first ‘rules’ for photography is to Move In Closer. Make the subject fill the frame. In other words, make the subject the obvious ‘hero’ and your child will get better photos.
Another factor to teach is that when illustrating a school outing, for example, they will need to show where they went, as well as their classmates who went on the trip. This is also a time to take plenty of shots, but not 100 shots all the same!
It is important for your child to understand that good photographs are ‘made’, they just don’t happen. To sparkle up their shots, look for points of interest to include in the viewfinder. Then work out how to really use that point of interest in the shot. This may require shifting position, but is worthwhile.
No lessons on photography can go by without mentioning the Rule of Thirds. Placing the hero at the intersection of thirds can be a little hard for youngsters to understand, but even to show them to place the subject off-center can be enough.
Provided your child is a teenager, he or she is old enough to be taught the different ‘modes’ offered by almost all digital cameras these days. This includes ‘Portrait’, ‘Sports’, ‘Flash’ and ‘Fireworks’ and many others. Teach them that modes just take some of the mechanical/optical steps away from the photographer and uses the automatic functions in the camera instead. However, the modes do not signify the only way to take a sports photograph, for example.
Just as their teachers grade school homework, sit down with your budding photographer and discuss their images. Get them to understand which shots are good, and which are not so good, and why.
One of the most important items for new photographers is a small notebook and pencil. Teach your children to make notes as to the camera settings they are using for every shot. Then while going through the shots with them you can see areas where they can improve over the settings they used to take the shot. But with no notebook, both of you are flying blind.
Photography is a very educational pastime for children, and one that they can grow with as they mature.
 |
 |
 |


